HPC Desktop
The HPC Desktop is a general desktop interface for Cheaha. It can run all software installed on Cheaha including those with graphical interfaces which can't be run from a base terminal. It has the same functionality as a standard Centos 7 desktop including a web browser for accessing the internet. The HPC Desktop is a standard tool used for pipeline and analysis development when creating scripts to use in batch jobs. Below, you can see an example of the basic available desktop.

Copy-Paste Into HPC Desktop
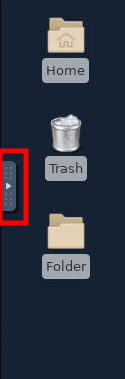
The HPC Desktop app is run through noVNC. This setup means it is not possible to conventially copy-paste text between the Desktop tab and other tabs or software on the host machine (i.e. a lab workstation or personal laptop). To copy-paste text, noVNC provides a control panel with a clipboard for passing text between the VNC session and the host machine. The control panel is available by clicking a tab on the far left of the screen, halfway down (see the red rectangle in the image below).
Once you click the tab, you'll see the control panel appear. The second option from the top will open a clipboard. Paste text from your local machine into the clipboard and then paste into either a terminal or another program in the VNC session. See below for an example.
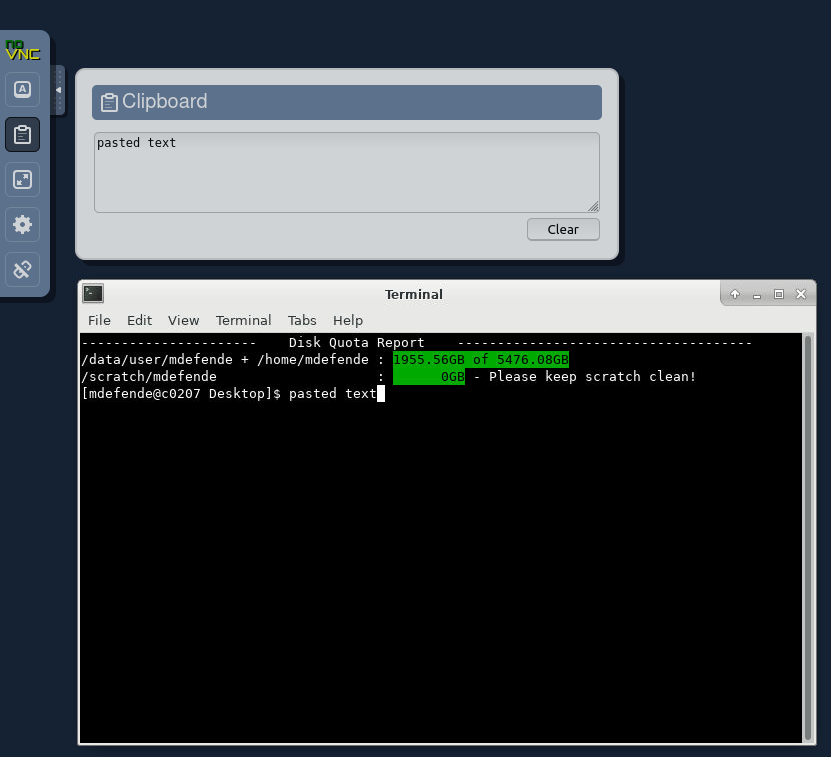
To copy from the VNC to your personal machine, highlight the text you want to copy in the VNC session, and that text will appear in the clipboard. Select the text in the clipboard, copy it, and then paste it on your local machine. Images cannot be copy-pasted through this clipboard. Instead, images should be saved as a file and then transferred through tools such as Globus, rclone, or an scp utility.
Visual Studio Code Remote Tunnel
It is possible to remotely access Cheaha using an HPC Desktop job as a host for Visual Studio Code (VSCode), with the "Remote - Tunnels" extension. You can read more about the extension and process at https://code.visualstudio.com/docs/remote/tunnels.
To use this method you will need either a GitHub account or Microsoft account. Microsoft accounts can be obtained using your SSO credentials through Microsoft.
Danger
Do NOT use the remote tunnel extension if you intend to view or work with Restricted/PHI Data while using VSCode.
When using a tunnel, all information visible within VSCode is end-to-end encrypted and sent from Cheaha to your local machine through a third-party service (the tunnel). Use of any third party services and encryption for Restricted/PHI Data requires a risk assessment first, on a case-by-case basis.
Warning
Do not use "Remote - SSH" to access Cheaha, as all processes run on the login node. VSCode Server, and associated processes, running on the login node may be shut down at any time to free login node resources. Instead, please use "Remote - Tunnels" as described below.
Downloading and Installing VSCode and VSCode Server
Important
Current versions of VSCode are not supported on older Linux distributions, including CentOS 7 running on Cheaha. Cheaha is only compatible with VSCode version 1.85.2 or lower. The following instructions will show you how to install this specific version. If VSCode does not work and is giving messages saying GLIBC_2.18 (or greater) not found (required by ./code), your installation of VSCode is too new and needs to be downgraded to 1.85.2.
First, open a terminal on Cheaha. Run the following commands if you have used VSCode before to remove some hidden files. If you are installing VSCode for the first time, skip to the next code block.
Next, use the following commands to install both VSCode and VSCode Server:
curl -L -o vscode_cli.tar.gz 'https://update.code.visualstudio.com/1.85.2/cli-alpine-x64/stable'
mkdir $HOME/bin
tar -xz -C ${HOME}/bin -f vscode_cli.tar.gz

export commit_sha=8b3775030ed1a69b13e4f4c628c612102e30a681
curl -L "https://update.code.visualstudio.com/commit:${commit_sha}/server-linux-x64/stable" -o vscode_server.tar.gz
mkdir -vp ~/.vscode-server/bin/${commit_sha}
tar --no-same-owner -xzv --strip-components=1 -C ${HOME}/.vscode-server/bin/"${commit_sha}" -f vscode_server.tar.gz
Adding code to PATH
To avoid typing ./code for commands, try adding ${HOME}/bin to $PATH in your ~/.bashrc before starting a job. Then you will only need to type code for commands. You can do this from the terminal with the following command:
You only need to have this line or export PATH=$PATH:${HOME}/bin:... in your .bashrc once. You should check your .bashrc to make sure this line isn't already there before adding it.
Starting a Tunnel
These steps should be performed each time you would like to create a tunnel.
- Start an HPC Desktop job on Cheaha with the required resources. Note that all VSCode processing, including debuggers, unit testing, Jupyter Notebook server, file access, etc., all happen in this same job context. Adjust resources in relation to your development needs.
- Within the HPC Desktop Job, open a terminal and run the command
code tunnel(assumes you've addedcodeto$PATH). -
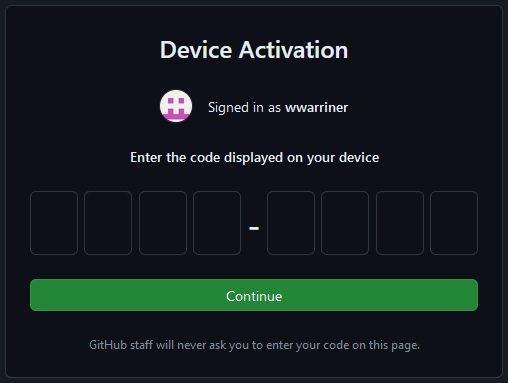
Select whether you would like to login with a Microsoft or GitHub account. You should then see a URL and code.


-
In your local browser, navigate to the URL and enter the code. If you see a
https://vscode.dev/tunnel/...URL, ignore it. It leads to an online-only instance of VSCode running on a Microsoft Cloud service, not to your local machine.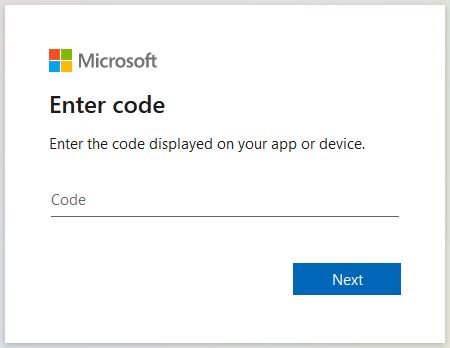
-
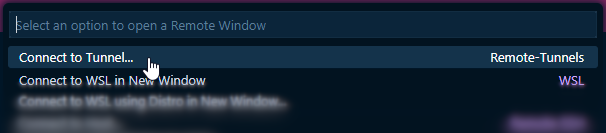
Open VSCode on your local machine and click the
><button in the lower-left corner of the main VSCode window to open the Command Palette. Select "Connect to Tunnel..." to find your tunnel.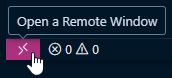
-
Select the same login method as in step (3). You may be asked to login locally.

-
Select your tunnel from the list.

After the previous step, you should be connected to your tunnel. Now your local VSCode window is acting as a front-end for processing and file access occuring on Cheaha.