Jupyter Apps
Jupyter Notebooks and Jupyter Lab are both available as standalone apps in OOD. Jupyter is commonly used with Anaconda environments. If you are unfamiliar with Anaconda environments please see the Working with Anaconda Environments section below before continuing here.
To launch the Jupyter notebook, select the menus 'Interactive Apps -> Jupyter Notebook'. The job creation and submission form appears:
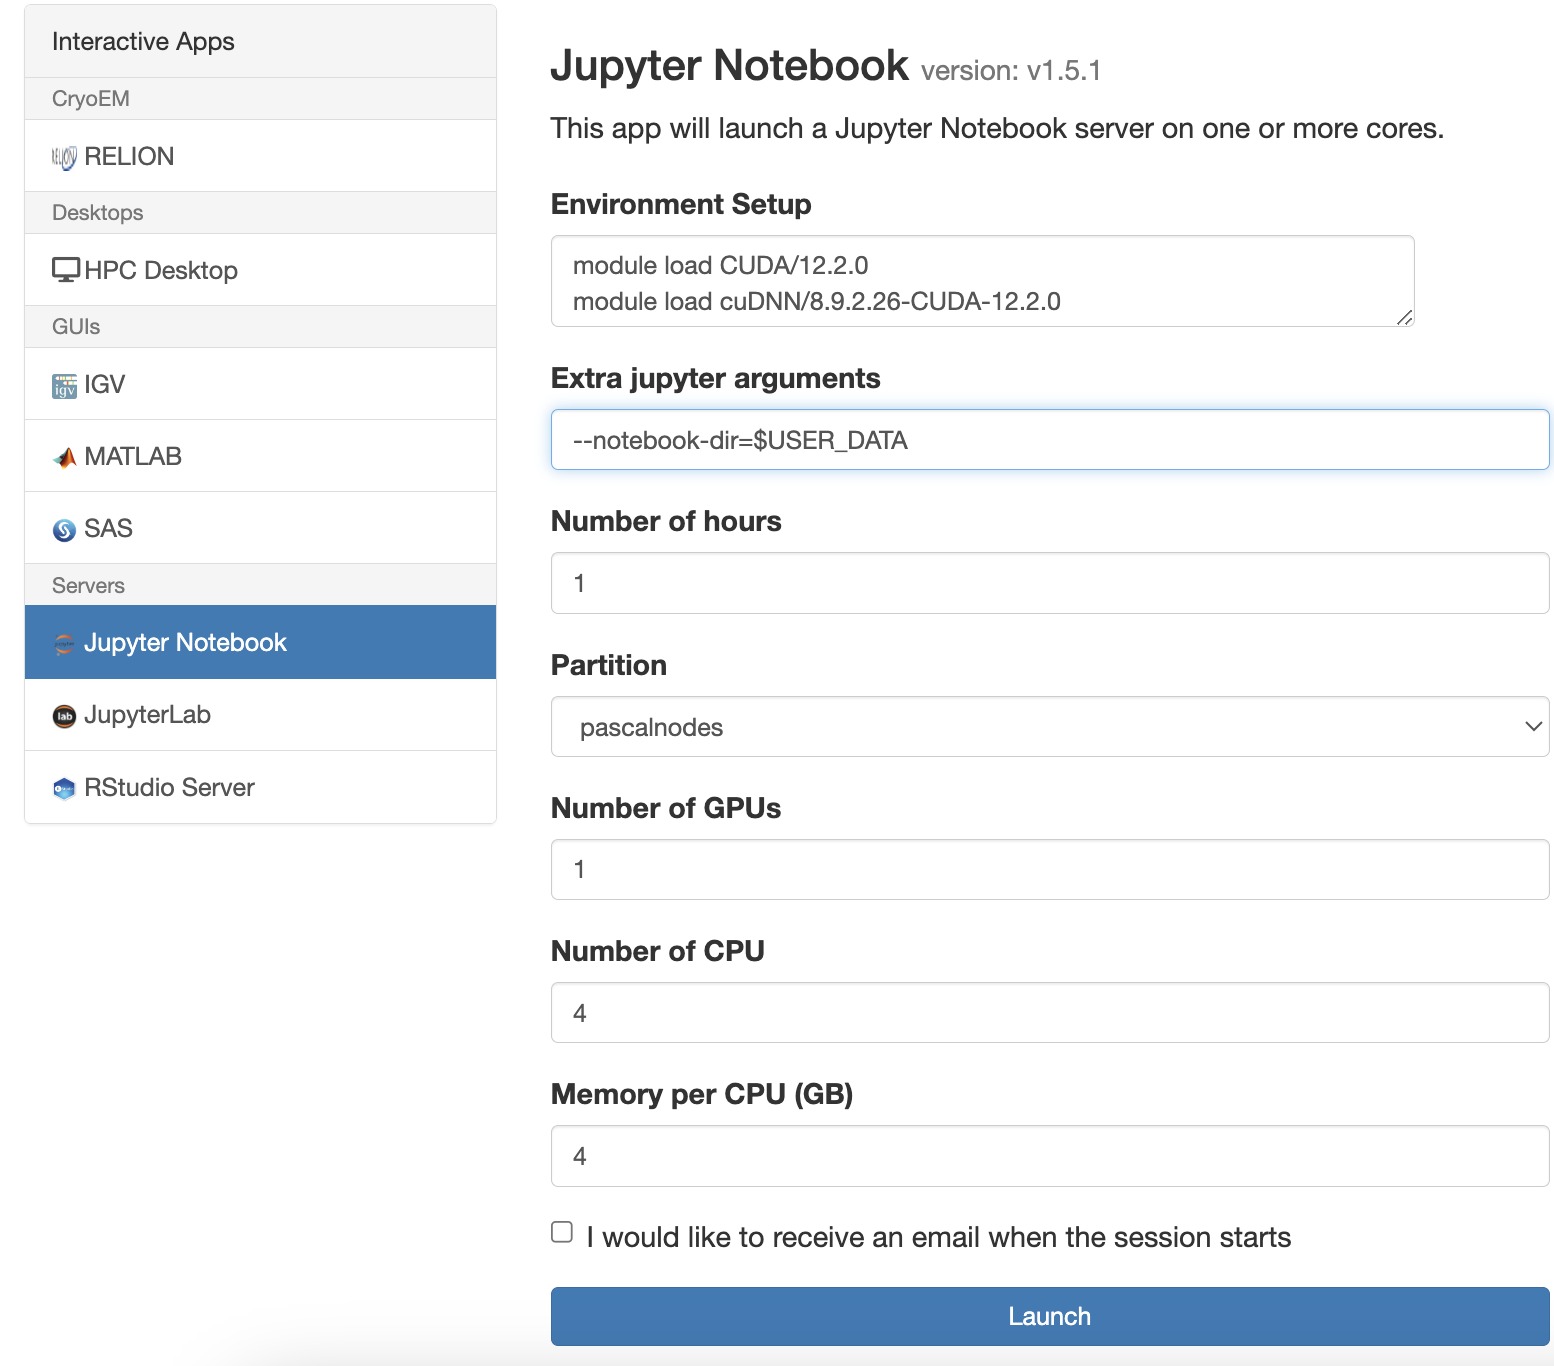
As with all interactive apps, you'll need to select the resources required using the job creation form. Jupyter may also require additional initial setup before the app launches.
Environment Setup
To modify the environment that Anaconda and Jupyter will run in, please use the Environment Setup field to load modules and modify the environment $PATH. Be aware that any changes to the environment made in this window will be inherited by terminals as well as notebooks opened within Jupyter.
CUDA
For GPU applications you'll need to load a CUDA/* module to have the CUDA toolkit available. If working with deep learning workflows, you may also need to load the cuDNN/*-CUDA-* module corresponding to your choice of CUDA/* module version. These are required for popular ML/DL/AI libraries like TensorFlow, Keras, and PyTorch. Use module spider cuda/ and module spider cudnn to view the list of appropriate modules. An example of what to put in the Environment Setup field when using a version of Tensorflow compatible with CUDA version 12.2.0 is shown below.
For information on which versions of CUDA to load for Tensorflow and PyTorch, please see Tensorflow Compatibility and PyTorch Compatibility.
For information on partition and GPU selection, please review our hardware information page and GPU Page
Extra Jupyter Arguments
The Extra Jupyter Arguments field allows you to pass additional arguments to the Jupyter Server as it is being started. It can be helpful to point the server to the folder containing your notebook. To do this, assuming your notebooks are stored in /data/user/$USER, also known as $USER_DATA, put --notebook-dir=$USER_DATA in this field. You will be able to navigate to the notebook if it is in a subdirectory of notebook-dir, but you won't be able to navigate to any other directories. An example is shown below.

Working with other programming languages within Jupyter Notebook
To work with other programming languages within Jupyter Notebook, you need to install the corresponding kernel for each language, similar to the process used for Python with the ipykernel. This can be done using package managers such as pip or conda, or by following language-specific instructions. For example, to install R kernel for the R language, we can run the conda install -c r r-essentials command. Please ensure that the kernel is installed in your Anaconda environment. Then, select the desired language environment from the kernel dropdown menu.
Once the necessary kernels are installed, if you wish, you can write and run multiple code cells in different languages within a single notebook. Easily switch between kernels and select the preferred one for each language, and then proceed to run the code cells in their respective languages.
Working with Anaconda Environments
By default, Jupyter notebooks will use the base environment that comes with the Anaconda3 module. This environment contains a large number of popular packages and may useful for something quick, dirty, and simple. However, for any analysis needing specific package versions or special packages, you will need to create your own environment and select it from the Kernel menu. For information on creating and managing Anaconda environments please see our Using Anaconda page. Then please review our Cheaha-specific Anaconda page for important tips and how to avoid common pitfalls.
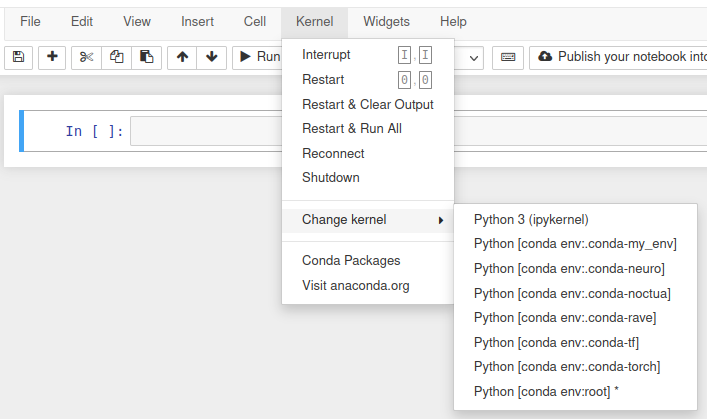
To change the kernel, use the Kernel dropdown and select Change Kernel. From the list, choose the kernel corresponding to your desired Anaconda environment (see below for an example). If your environment isn't appearing, you may be missing the ipykernel package. To do so, use conda install ipykernel to get ipykernel packgae installed into your environment, so Jupyter can recognize your environment.
Creating an Environment for use with Jupyter Notebook
We can create a new environment, that houses all of the packages, modules, and libraries we need for our current Jupyter Notebook to implement functions and operations, run all of its cells and deliver desired outputs. Follow the steps below to accomplish this;
-
Access the terminal.
-
Create and activate your new environment, following the linked steps.
-
Install your desired packages into your activated environment.
-
Remember to install 'ipykernel' in your activated environment, using
conda install ipykernel. -
Go into your working Jupyter Notebook file, and change to the created environment.
Changing Environments using Jupyter Notebook GUI
-
When your Jupyter Notebook Job has been created on Cheaha, and you want to load an environment you have already created. Select from the dropdown menu "New". You can find this in the top right corner of the Jupyter Notebook landing page.

-
When you click new, you would see a dropdown of environments that are available for you to use. If you do not see your created environment listed, you may need to install
ipykernelusingconda install ipykernelin your cheaha shell within your activated environment. You may have to refresh the page to see your newly created environment. Select the preferred existing environment you created.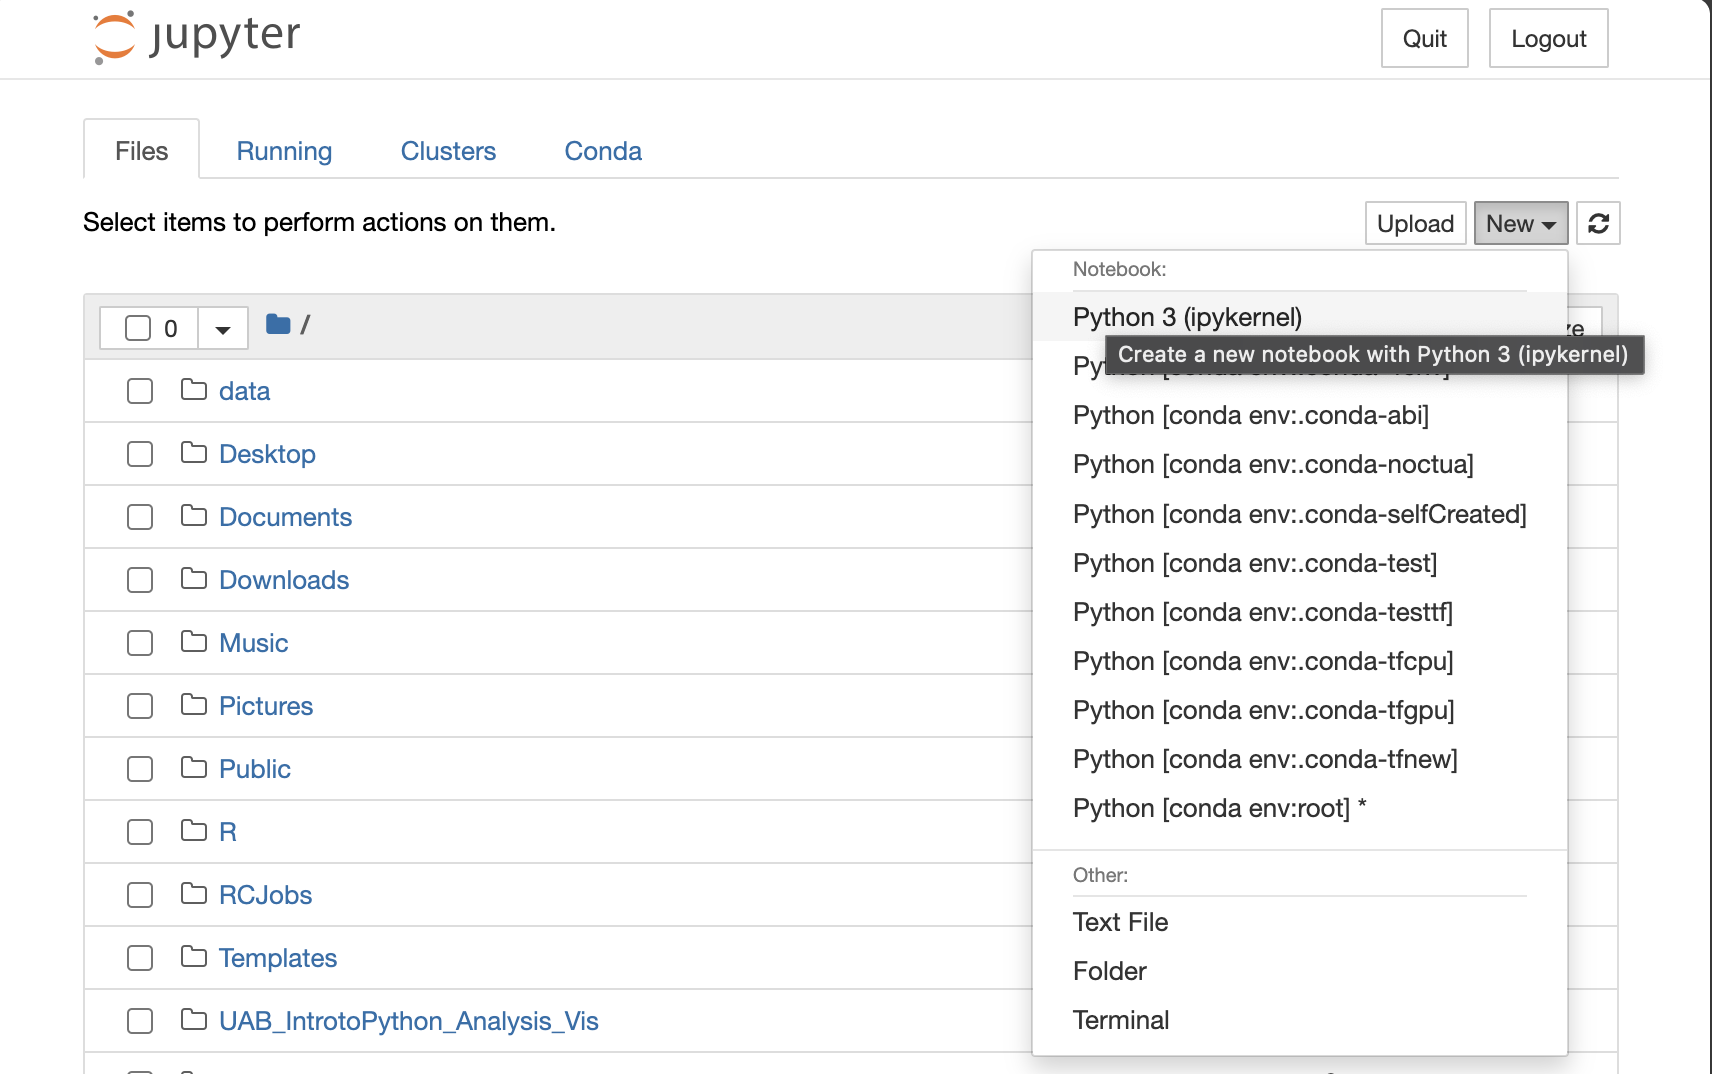
On another note, you may want to replicate an environment setup to handle a project, research, or analysis but you are already working on a Jupyter Notebook file. You can select a different environment from the Jupyter Notebook file by;
-
Selecting the Jupyter Notebook File from your landing page.
-
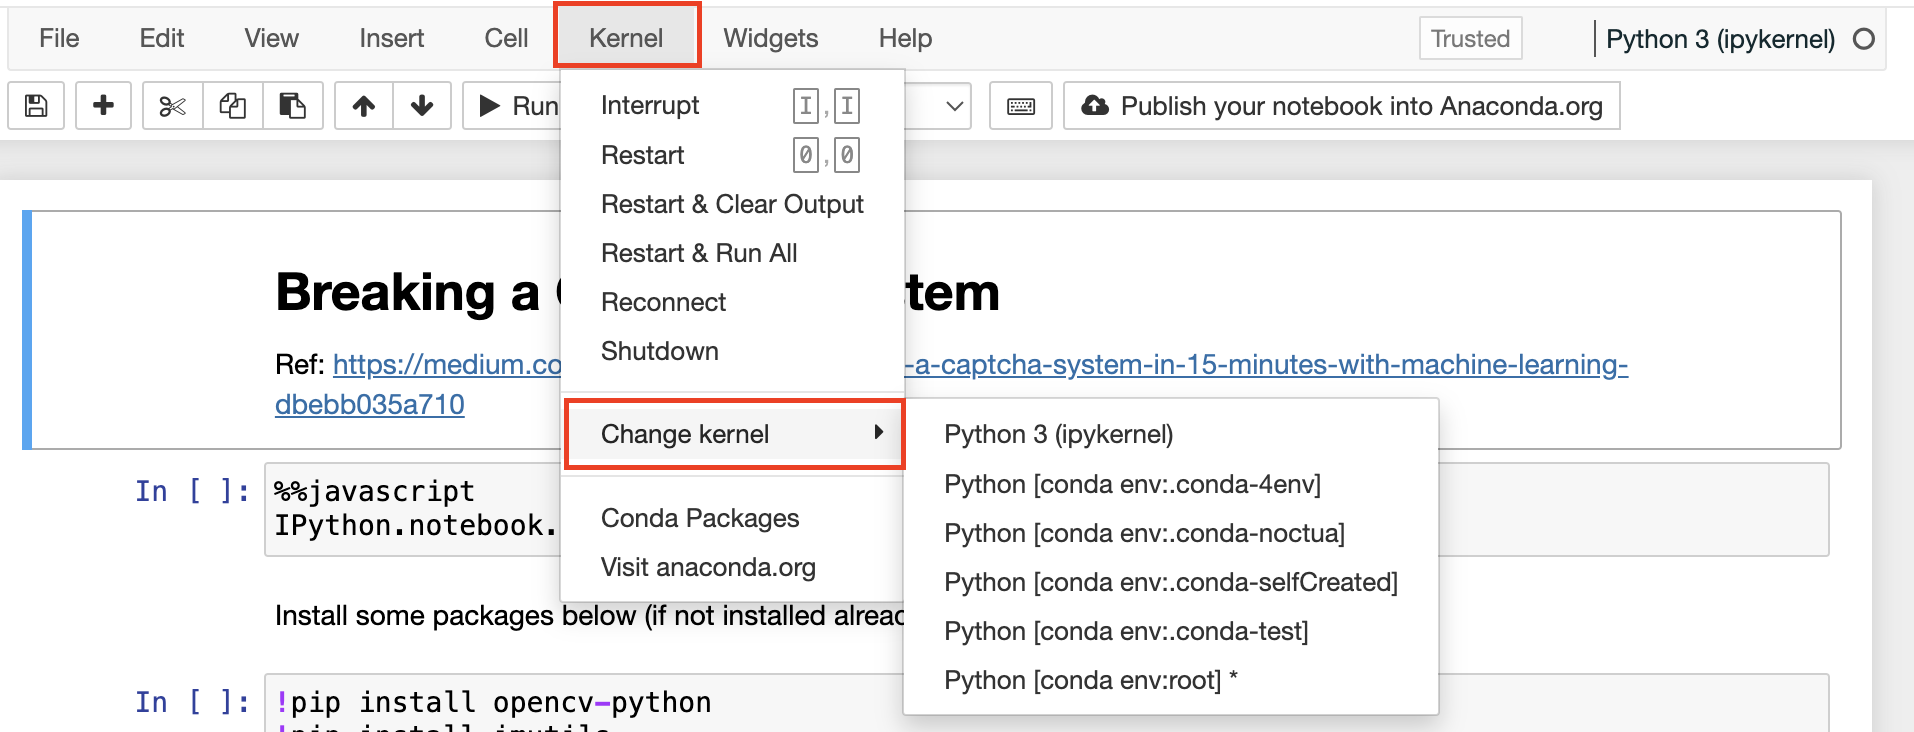
While in the file, look for the menu option "Kernel", select this. In the Kernel dropdown option, select "Change kernel". Then select your preferred kernel environment. Wait a few seconds for it to load, and you are ready to use your preferred environment. Selecting this would open a new Jupyter Notebook file with your selected environment.
-
Your selected environment would appear in the top right corner.

-
Common Issues in OOD Jupyter
Python Executable Issues
Jupyter Notebook by default loads Anaconda3. Hence do not load any versions of Anaconda3 or mamba module in the Environment Setup field in the OOD Jupyter Notebook, as it causes Python mismatch, and the errors are hard to diagnose.
Having custom installs of Anaconda/Miniconda/Mambaforge/Minimamba can cause the above similar issue. If you have installations of any of these software in your personal space, delete those directories and instead use the Anaconda3 module.
To identify a Python mismatch, use the commands which python and python --version to confirm the desired Python executable and version. Within the conda environment, which python prints the path of the Python executable (e.g. ~/.conda/envs/remora/bin/python). If it doesn't match the expected version, an unexpected Python version may be in use.
conda init or mamba init append an incorrect version of Python to the front of the $PATH, an environment variable containing directories where the operating system looks for executable files. When you attempt to execute a Python-related command, the system will find the first matching executable in the directories listed in the modified $PATH. If the first entry corresponds to the version of Python added by mamba init or conda init, that specific version will be used which lead to Python mismatch and hard-to-diagnose errors.
Unexpected/Silent Job Failure
Having conda/mamba activate and source activate statements in the OOD Jupyter Notebooks' Environment Setup field can cause unexpected and silent job failure. Avoid using conda activate in the Environment Setup field.
Timeout in Loading Jupyter Notebook
If you encounter a "Failed to Connect" message while trying to open the job, and experience a timeout issue in loading the OOD Jupyter Notebook, it is recommended to close the tab and wait for a few minutes. Jupyter is still in the process of initializing and may take some time after the job initially starts running.
VNC Error When Launching OOD Jupyter Notebook
While launching an OOD HPC Desktop Job or any OOD Applications, if the user gets errors, Unable to contact settings server and/or Unable to load a failsafe session, it is recommended to follow the below guidelines.
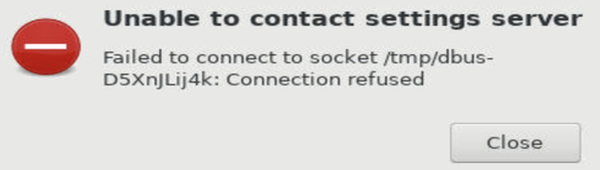
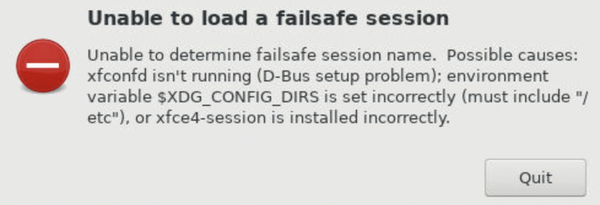
Using conda init and mamba init causes a block of code automatically inserted into the .bashrc file in your $HOME directory. This code block may interfere with the proper functioning of various OOD applications, resulting in a VNC error. To address this issue, it is recommended to follow the instructions outlined in the FAQ entry.
Pip Installs Packages Outside of Environment
When installing packages within a conda environment using pip, it's crucial to ensure that you install pip within the same conda environment and use pip from that environment. If pip is used outside of Anaconda or within an environment without pip installed, the packages are installed to ~/.local. This can lead to unexpected package conflicts, as Python loads packages from ~/.local before loading from Anaconda environments, and shows the following error,
For the above case, resolving errors involve deleting the ~/.local directory.
Here's an example of the correct procedure for installing pip packages within a conda:
- Load the
Anaconda3module usingmodule load Anaconda3. - Create or activate the desired Anaconda environment. Please refer to the Anaconda documentation
- Install
pipwithin thecondaenvironment usingconda install piporconda install python.pipandpythonare packaged together, installing one will always install the other. - Use
pipwhen thiscondaenvironment is active to install packages. Please refer to Installing packages withpip
Tensorflow and PyTorch GPU issues
If you are using Jupyter with TensorFlow or PyTorch and no GPU is found, please see our Slurm GPU page sections on TensorFlow Compatibility and PyTorch Compatibility.